Replace a Dyson Clutch
Replacing the clutch is an important part of ensuring your vacuum cleaner runs as effectively as possible, so understanding the process can help keep yours running smoothly for years to come. The good news is that with patience and a few tools, anyone should be able to replace their own clutch without having to call out a professional.
What parts do you need?
We sell high-quality replacement parts to ensure long-lasting and effective repairs!
How do I know when to...
Replace a Dyson Clutch Assembly
Brush Roll Not Spinning
If your Dyson brush roll is not spinning, or you can easily stop the brush roll with your hand, you need to replace your clutch assembly.
Burning Smell
If you smell a plastic burning smell when running your Dyson DC07, DC14, or DC33. You may need to replace your clutch assembly and brush roll.
Grinding Noises
Is your Dyson making a grinding noise while vacuuming? If so, the clutch may need replacement.
Let's get down to business...
Step-by-Step Repair Guide
Step 1: Verify the Clutch Needs Replacement
- Check for clogs – Ensure the vacuum has no blockages (refer to a clog-checking guide if needed).
- Test the brush roll – Turn the vacuum on and see if the brush roll spins.
- Stop the brush with your hand (use caution) – If you can easily stop it, the clutch is worn and needs replacement. If it makes a loud clicking noise, the clutch is still functional.
Step 2: Disassemble the Vacuum
- Unplug the vacuum.
- Remove the bin/canister for easier access.
- Lay the vacuum on its back to expose the bottom plate.
- Remove the bottom plate using a large flathead screwdriver.
- Cut the old belt (if replacing the clutch, the belt comes with it).
- Detach the side cover – Be careful, as older DC07 models have fragile plastic tabs that can break.
Step 3: Remove the Old Clutch
- Locate the clutch cover – Remove the three T-15 Torx screws securing it.
- Check the metal rod inside – Ensure it’s properly positioned when removing the clutch cover.
- Remove the clutch knob – Use a hammer to lightly tap and loosen it (be careful not to break it).
- Extract the clutch unit – Hook onto the belt with a screwdriver and wiggle the clutch out.
Step 4: Install the New Clutch
- Align the new clutch with the mounting slots and push it into place.
- Reattach the clutch knob by tapping it back in.
- Secure the clutch cover with three T-15 screws – Ensure the metal rod is properly seated.
Step 5: Reassemble the Vacuum
- Reinstall the bottom cover and side panels – Be cautious with fragile plastic clips.
- Replace the brush roll – Clean and oil the end caps if needed.
- Install the new belt – Use a large flathead screwdriver or a belt installation tool to stretch it over the brush roll.
- Snap the brush roll into place – Roll it by hand to ensure proper alignment.
Step 6: Final Testing
- Manually spin the brush roll to ensure it rotates smoothly.
- Turn on the vacuum and test the clutch – Listen for a grinding noise when stopping the brush, which indicates the clutch is properly engaging.
- Ensure the brush doesn’t stop easily when pressed against the floor – If it does, check the belt installation.
You also might need...
Other Items for This Repair
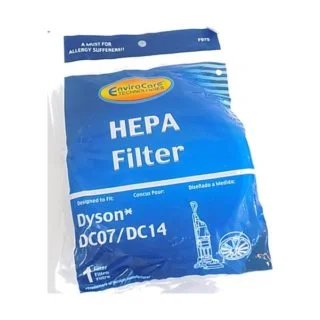
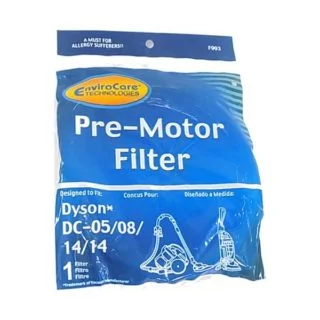
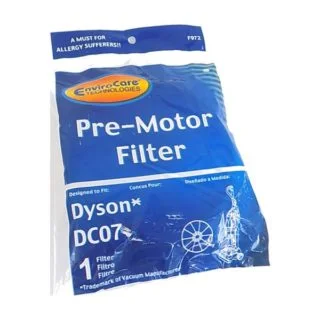
While completing this repair, you should check these other important items on your vacuum cleaner to ensure the best possible performance and longevity!

Final Thoughts
Replacing the clutch on your Dyson DC07, DC14, or DC33 can be tricky, requiring disassembly and precision. With the right tools, quality parts, and our step-by-step tutorial, you can complete the repair and restore your vacuum’s performance.
If you’re unsure, a professional repair center can handle it safely and efficiently, while also checking for additional wear. Whether you DIY or seek expert help, clutch replacement is key to keeping your Dyson running at its best.
Need More Stuff?
We offer comprehensive part diagrams and repair tutorials to help you keep your vacuum running at its best. VacuumsRus is your one-stop-shop for anything vacuum cleaner related!
Schematics and Parts Diagrams
You can find the schematics for each model this repair is applicable to here:
Schematic and parts list for: Dyson Model: DC33
Schematic and parts list for: Dyson Model: DC07
Schematic and parts list for: Dyson Model: DC14


