Dyson Ball Full Service
Regular maintenance is essential to keep your Dyson Ball vacuum running efficiently. Over time, filters clog, brush rollers accumulate debris, and internal components wear down, leading to reduced performance. This step-by-step guide outlines the complete servicing process, from filter replacement and power head cleaning to final testing, ensuring your Dyson functions like new. This applies to Dyson DC41, DC65, UP13, UP16, and UP20 vacuum cleaners.
What parts do you need?
We sell high-quality replacement parts to ensure long-lasting and effective repairs! You can also check the schematic page for this vacuum cleaner.
How do I know when to...
Service my Dyson Vacuum?
Low Suction
If you feel that your Dyson Ball vacuum is not performing like it should – or like it used to – you should definitely service your machine.
Odors
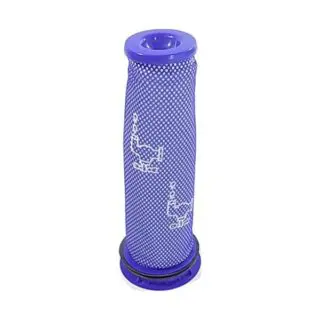
The most common cause of vacuum odor is bad filters and a dirty vacuum. Servicing your Dyson and replacing both filters will help greatly!
It's Been Awhile
Most vacuums need semi-regular service. If you haven’t serviced your vacuum in a while, its probably due for one!
Recent Heavy Use
Using your Dyson Ball vacuum on things like drywall dust, pine needles, fireplace ash, or for other heavy uses clogs and could damage your vacuum.
Let's get down to business...
Step-by-Step Repair Guide
Step 1: Initial Machine Check
Turn on the vacuum and listen for unusual sounds. This unit didn’t power on at check-in, likely due to overheating. If a loud whine is present, it could indicate a clogged HEPA filter, which will be addressed in the next step.
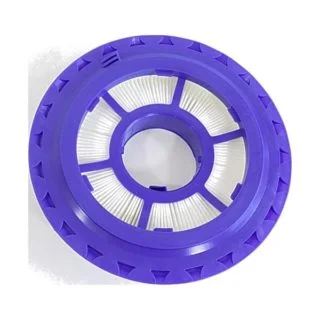
Step 2: Inspect and Replace the HEPA Filter
- Remove the HEPA filter and power the vacuum on.
- If the whining noise stops, the filter is clogged.
- Since the customer has authorized a replacement, install a new HEPA filter.
Step 3: Service the Power Head
- Detach the power head by sliding off the clip.
- Remove the baseplate (held by plastic tabs) and clear any debris, especially around the springs.
- Washing the baseplate in the sink is an effective way to remove stubborn dirt.
Step 4a: Disassemble the Brush Roller
- Remove the four Phillips screws securing the brush roller’s end caps.
- Lift the end caps and take out the brush.
- Using a T15 Torx bit, remove the brush roller end caps and clear out any trapped hair or debris.
Step 4b: Clean and Grease the Bearings
- Thoroughly clean the bearings to remove dirt buildup.
- Apply silicone-based grease to the bearings and areas prone to debris accumulation.
- This reduces wear and extends the life of the power head.
Step 4: Reassemble the Power Head
- Reinstall the brush roller, ensuring it aligns correctly.
- Secure the end caps and baseplate.
- Reattach the power head to the vacuum.
Step 5: Clean the Upper Body and Canister
- Remove and empty the canister of dust and debris.
- Blow out the cyclone assembly with compressed air or wash if necessary.
- Inspect the gasket for trapped moisture and dry thoroughly.
Step 6: Clean the Main Body
- Use an air compressor to remove internal dust and debris.
- Clean scuffs and marks using denatured alcohol and a Scotch-Brite pad.
- Finish with a multi-purpose cleaner for a polished look.
Step 7: Reassemble the Vacuum
- Attach the power head, ensuring the electrical connections align properly.
- Reinstall the cleaned canister onto the vacuum.
You also might need...
Other Items for This Repair
While completing this repair, you should check these other important items on your vacuum cleaner to ensure the best possible performance and longevity!
Final Thoughts
By following this complete Dyson Ball vacuum service guide, you can restore your vacuum to peak performance. Regular maintenance extends the lifespan of your Dyson and ensures optimal cleaning efficiency. If you’re unsure about any step, consider seeking professional vacuum servicing to prevent further damage.
Need More Stuff?
We offer comprehensive part diagrams and repair tutorials to help you keep your vacuum running at its best. VacuumsRus is your one-stop-shop for anything vacuum cleaner related!
Schematics and Parts Diagrams
You can find the schematics for each model this repair is applicable to here:
Schematic and parts list for: Dyson Model: UP20 Ball Animal 2
Schematic and parts list for: Dyson Model: DC41 dc55
Schematic and parts list for: Dyson Model: DC65/DC66/UP13


