Cord Reel and Motor Replacement on a Sebo D4 Canister

The Sebo D4 Canister Vacuum is a powerful cleaning appliance known for its robust performance. However, like any machine, over time, components may experience wear and tear, necessitating replacements. If you find your Sebo D4 exhibiting signs of reduced suction power or issues with the cord reel, it might be time to replace the motor and cord reel. In this detailed guide, we’ll walk you through the step-by-step process of replacing the motor and cord reel on a Sebo D4 Canister Vacuum.
Models this article is relevant to include:
Sebo D4 Canister Vacuum
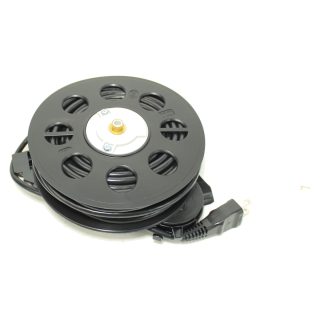
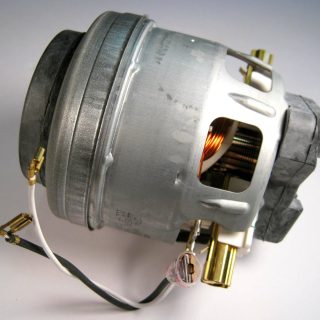
Sebo D4 Motor and Cord Reel
You’ll need the following items before attempting this repair:
- Replacement motor and cord reel assembly (compatible with Sebo D4)
- Phillips screwdriver
- Flathead screwdriver
- Work surface or clean area
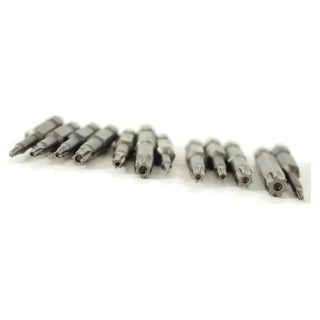
- T20 Torx Bit
Below, you can find the cord reel, motor, and filters for the Sebo D4 canister vacuum. You can also find a set of Torx and Security Bits that are required for this repair.
If the parts listed are not correct for your model, click here to be directed to our schematics / parts list page where you can search your Sebo model to find the right parts that you need.
Below is a full video tutorial with our authorized Sebo technician where he shows you how to complete this repair.
Replacing Sebo D4 Cord Reel and Motor Step-by-step Guide
Step 1: Prepare Your Work Area
Before starting the replacement process, ensure that your Sebo D4 Canister Vacuum is unplugged from the power source. Place the vacuum on a clean and stable work surface with easy access to the underside.
Step 2: Remove the Vacuum Bag and Filters
Open the vacuum bag compartment and remove the vacuum bag. Additionally, remove any filters that may obstruct access to the motor and cord reel area.
Step 3: Identify the Motor and Cord Reel Compartment
Locate the motor and cord reel compartment on the canister vacuum. On the Sebo D4, this compartment is typically situated near the base of the canister.
Step 4: Remove Screws Securing the Compartment Cover
Using a Phillips screwdriver, carefully remove the screws securing the compartment cover. Set aside the screws in a small container to prevent misplacement.
Step 5: Disconnect the Cord Reel Wires
Inside the compartment, you will find the cord reel assembly. Carefully disconnect any wires connected to the cord reel. Take note of the wire colors or label them for reassembly.
Step 6: Remove the Old Motor and Cord Reel Assembly
Once the wires are disconnected, carefully lift out the old motor and cord reel assembly. Be cautious not to damage any surrounding components during the removal.
Step 7: Install the Replacement Motor and Cord Reel Assembly
Take the replacement motor and cord reel assembly and position it in the compartment. Ensure that it aligns correctly with the mounting points.
Step 8: Reconnect Wires to the Cord Reel
If you disconnected any wires, reconnect them to the corresponding terminals on the new motor and cord reel assembly. Ensure a secure connection to maintain proper functionality.
Step 9: Secure the Compartment Cover
Place the compartment cover back into position and secure it with the screws you set aside. Tighten the screws, but avoid overtightening to prevent damage.
Step 10: Test the Vacuum
Plug in your Sebo D4 Canister Vacuum and turn it on to ensure that the replacement motor and cord reel assembly is functioning correctly. Test the vacuum on different surfaces to confirm its suction power and cord retraction.
Conclusion:
Replacing the motor and cord reel on your Sebo D4 Canister Vacuum is a task that, when done correctly, can revitalize the performance of your vacuum cleaner. Regular maintenance and timely replacements contribute to the longevity and reliability of your cleaning appliance. If you encounter any challenges during the process or are unsure about any step, consult your vacuum’s user manual or seek professional assistance. By taking care of your Sebo D4, you can enjoy powerful and efficient cleaning for years to come.


