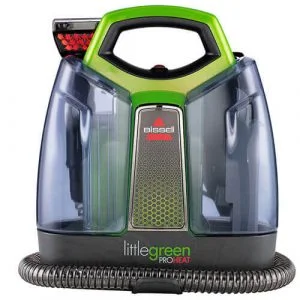
Bissell Spot Cleaner Hose Replacement
Keeping your Bissell handheld shampooer in top-notch condition is crucial for effective carpet cleaning. If you’ve noticed wear and tear on the hose or it’s no longer functioning properly, it’s time to replace it. Fortunately, replacing the hose is a relatively straightforward task that you can tackle with just a few tools and a bit of guidance.
Replacing the Hose on Your Bissell - Full Tutorial
Before you begin, gather the following materials:
- Replacement hose compatible with your Bissell Spot Clean shampooer
- Screwdriver
- Soft cloth
- Work surface or table


If this hose is not the one you need for your Bissell shampooer, click here to be directed to our schematics / parts list page where you can search your Bissell model number and find the correct hose.
Below is a full video tutorial with our authorized Bissell technician where he shows you how to complete this repair.
Bissell Hose Replacement - Step by Step Guide
Step 1: Preparation Ensure your Bissell handheld shampooer is turned off and unplugged from the power source. For safety, it’s always a good idea to work on a clean and well-lit surface.
Step 2: Access the Hose Area Locate the hose on your Bissell spot clean shampooer. This may involve removing the water tank or any other components blocking access to the hose.
Step 3: Detach the Old Hose Using a screwdriver, carefully loosen and remove any screws or clips securing the old hose in place. Once the fasteners are removed, gently pull the old hose away from the shampooer. Be cautious not to force it to prevent any damage to the surrounding components.
Step 4: Clean the Area Before attaching the new hose, take a moment to clean the hose connection area using a soft cloth. This ensures a clean and secure fit for the replacement hose.
Step 5: Attach the New Hose Take your replacement hose and securely attach it to the hose connection point. Ensure that it is snug and properly aligned. If applicable, use the screws or clips you removed earlier to fasten the new hose in place.
Step 6: Test the Shampooer Once the new hose is securely attached, plug in your Bissell handheld shampooer and turn it on. Test the shampooer to confirm that the new hose is functioning correctly. Check for any leaks or unusual noises.
Step 7: Final Checks Inspect the entire hose length for any kinks or bends that might obstruct the flow of water or cleaning solution. Ensure that the hose is free from any twists or tangles.
Conclusion: Congratulations! You’ve successfully replaced the hose on your Bissell handheld shampooer, restoring its functionality for effective carpet cleaning. Regular maintenance and prompt replacement of worn-out parts ensure that your Bissell remains a reliable tool in keeping your carpets fresh and clean.