Dyson DC07 Unclog
A clogged Dyson DC07, DC14, or DC33 can lead to reduced suction and poor cleaning performance. Properly assessing and removing blockages ensures that the vacuum operates efficiently without unnecessary strain on the motor. This step-by-step guide provides an effective approach to identifying, preparing for, and clearing clogs to restore your Dyson’s functionality.
What parts do you need?
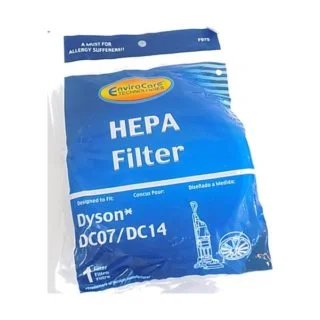
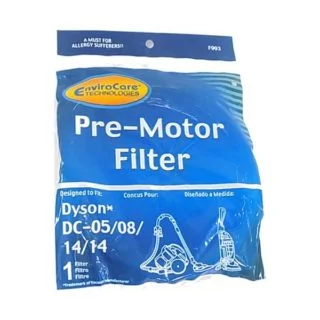
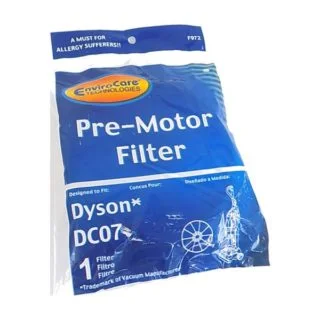
We sell high-quality replacement parts to ensure long-lasting and effective repairs! You can also check the schematic page for this vacuum cleaner.
How do I know when to...
Unclog my Dyson DC07, DC14, or DC33?
Low Performance
If the vacuum isn’t cleaning as effectively as before, a clog in the hose, wand, or internal airflow pathways may be restricting suction. Common culprits include dust buildup, pet hair, and carpet fibers lodged in key components. Checking for and removing obstructions can restore optimal performance.
Not Picking Up
A Dyson vacuum that isn’t picking up debris despite strong motor function likely has a blockage preventing airflow. Check for clogs in the brush roll, lower hose, and cyclone assembly. If the brush roll stops spinning or slows down on carpet, the issue may also involve a worn belt or clutch.
Odor
A musty or burning smell coming from the vacuum is often a sign of a clogged filter, trapped debris, or overheating motor components. If the vacuum emits a burning odor, it’s crucial to check for hair or fibers wrapped around the brush roll. Replacing clogged filters and clearing airflow pathways can help eliminate unwanted smells.
Let's get down to business...
Step-by-Step Repair Guide
Step 1: Assess the Clog
- Turn off and unplug the vacuum to ensure safety.
- Check for visible obstructions in the hose, wand, or intake areas, such as fabric, hair, or debris.
- Inspect the brush roll for tangled fibers or large objects blocking movement.
- Use tweezers, pliers, or scissors to carefully remove any lodged debris.
- Identify where the obstruction is located to determine the best method for removal.
Step 2: Prepare the Vacuum for Cleaning
- Ensure the vacuum is completely powered off and unplugged.
- Remove and empty the dustbin to clear any trapped debris.
- Clean the dustbin’s interior using a brush attachment or crevice tool.
- Inspect both filters:
- Pre-motor filter (behind the dustbin)
- Post-motor HEPA filter (at the base of the vacuum)
- Replace dirty or clogged filters before proceeding to prevent additional dirt from entering the motor.
Step 3: Clear the Clog
- Gather necessary tools such as pliers, tweezers, a flashlight, and a screwdriver.
- Remove any visible debris near the vacuum’s main opening.
- Check inside the dustbin chamber for larger blockages like dirt clumps or tangled fibers.
- Inspect the hose and wand for deep-set clogs:
- Use a flashlight to locate obstructions.
- Carefully push out debris with a flexible cleaning tool.
- Examine air entry points and remove lint, carpet fibers, or other small blockages with tweezers.
- Ensure all pathways are clear before reassembling the vacuum.
Step 4: Final Testing and Reassembly
- Reconnect all components, ensuring proper alignment.
- Power on the vacuum and test suction strength.
- Check brush roll rotation to confirm smooth operation.
- Inspect airflow by placing a hand near the hose inlet—if suction is restored, the clog has been successfully removed.
You also might need...
Other Items for This Repair
While completing this repair, you should check these other important items on your vacuum cleaner to ensure the best possible performance and longevity!
Final Thoughts
Unclogging a Dyson DC07 or DC14 is a straightforward process when following the correct steps. By assessing the clog, preparing the vacuum, and carefully removing blockages, the vacuum’s performance can be fully restored. Regular maintenance, including filter replacements and brush roll inspections, helps prevent future clogs and ensures consistent cleaning power. Taking control of these repairs not only saves money but also keeps your Dyson working at its best for years to come.
Need More Stuff?
We offer comprehensive part diagrams and repair tutorials to help you keep your vacuum running at its best. VacuumsRus is your one-stop-shop for anything vacuum cleaner related!
Schematics and Parts Diagrams
You can find the schematics for each model this repair is applicable to here:
Schematic and parts list for: Dyson Model: DC33
Schematic and parts list for: Dyson Model: DC07
Schematic and parts list for: Dyson Model: DC14


