
-
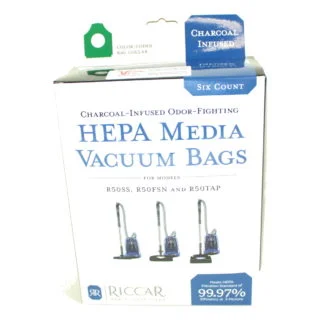
Riccar HEPA Vacuum Bags Charcoal Infused Type C for Prima Canister – 6pk
Original price was: $25.99.$21.99Current price is: $21.99. Add to cart -
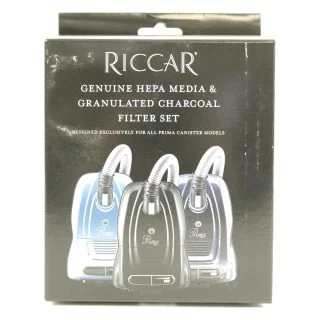
Genuine Riccar Simplicity Hepa & Granulated Charcoal Filter Set Riccar Prima Simplicity Wonder
Original price was: $39.99.$31.99Current price is: $31.99. Add to cart -
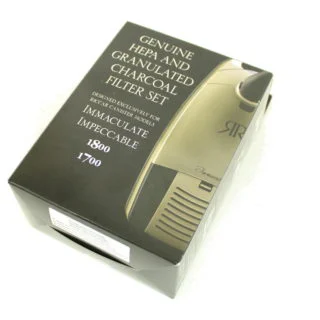
Riccar Filter Set Immaculate Impeccable Canister Granulated Charcoal & Hepa
Original price was: $47.99.$38.99Current price is: $38.99. Add to cart